Fireplace Remodel
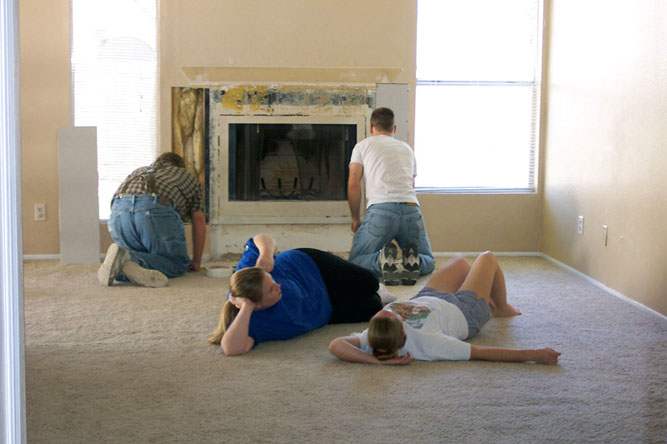
When we closed on our house, one if the first things we decided we were going to remodel was the fireplace. It might not
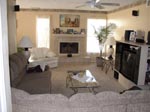
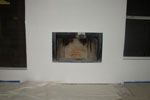
look too bad in the picture, but the hearth was coming apart (it was home-made), and the mantle was falling off the wall. In addition,
we don't ever intend to use it as a fireplace due to the frequency of no-burn days here in Phoenix, and potential health
problems. As a result, we would like the fireplace to be inconspicuous with no mantle or hearth. So, Heather and I removed
the hearth and the mantle. I removed the tiles and realized that I was going to have to replace
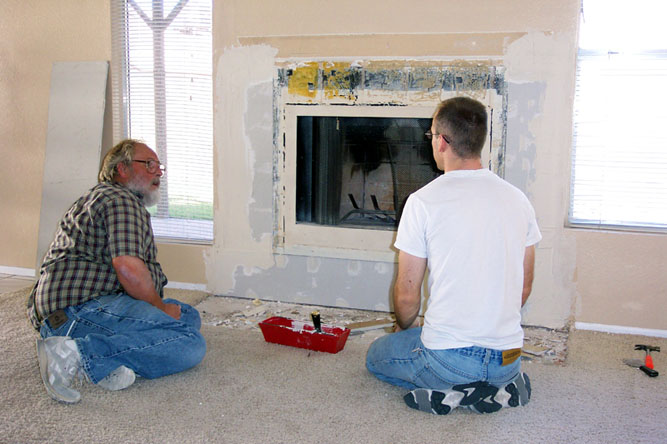
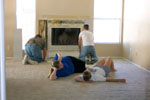
the drywall. My dad came to see our new house and assisted in replacing the drywall and putting the first coat of drywall mud on. I put on
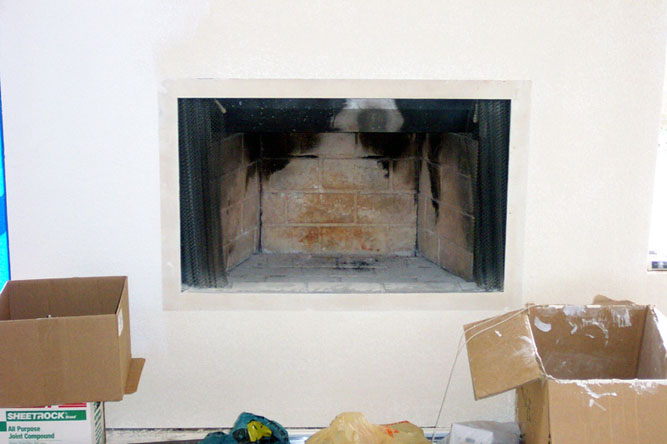
the next two coats of drywall mud and applied the texture. We still have more improvements to make, and I'll update this page with pictures
as they are done.
July, 2004
Click on a picture to open a larger version in a new window
 |
 |
 |
 |
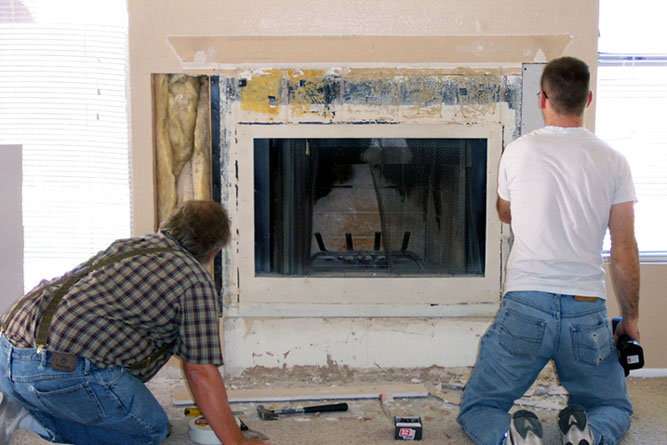
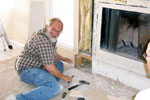
| This is what the fireplace looked like originally |
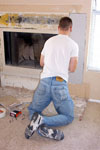
Me and my dad replacing the drywall that was damaged when the tile was removed |
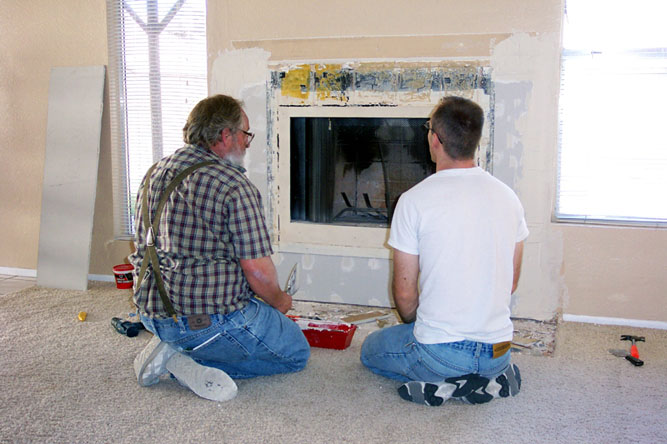
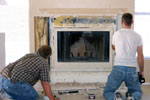
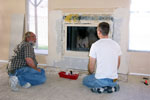
We replaced that drywall on the bottom, too. It was not plumb with the firebox |
Here you can see how the bottom was further into the wall on the left side |
 |
 |
 |
 |
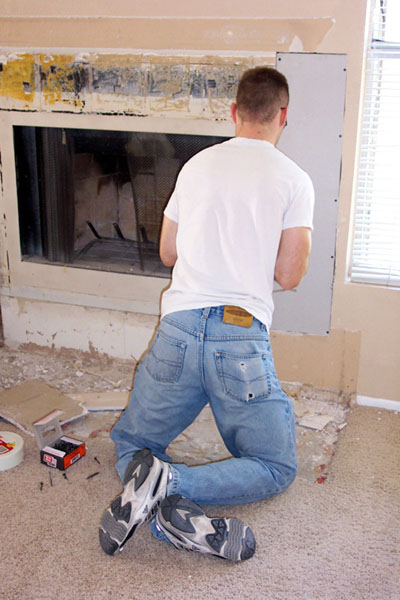
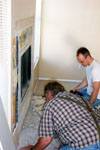
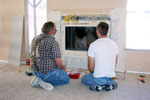
| We decided to remove more drywall... |
I'm attaching one of the new pieces of drywall |
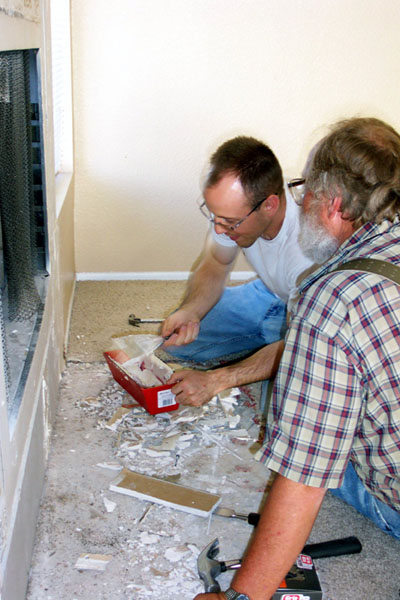
Time to mud |
My first time applying drywall mud |
 |
 |
 |
 |
| My dad's telling me what to do once the first coat of mud is dry |
Still a lot of work to do... |
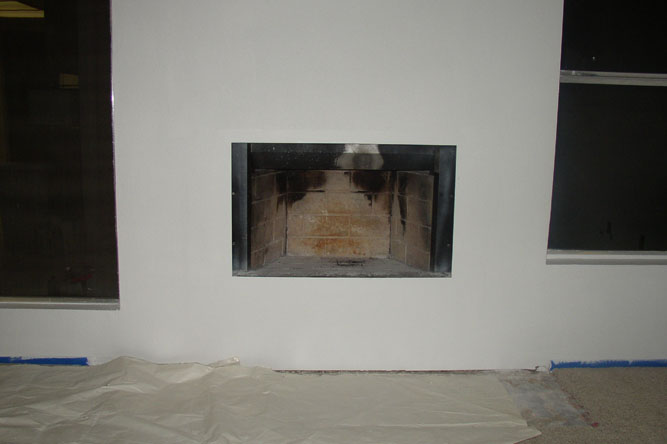
Time warp: wall all done and textured |
First coat of paint |
 |
 |
| Second coat of paint |
Firebox painted (still a bit of touch up to do) |